
A wall is ready for a fresh coat when a pale damp patch appears above the skirting. It is tempting to cover it quickly. The durable plan is to find where the moisture is coming from before opening the paint.
Paint is a finish, not a waterproof diagnosis. If a tide mark, salts or peeling returns, the wall is still telling you water is present.
Do not paint over active damp. Trace and fix the moisture source, let the wall dry fully, remove loose salt-damaged material, then use the right repair and primer before painting. Book help for spreading damp, mould, leaks or cracks.
Quick diagnosis map
Match what you see to a first move. The right first check for damp wall is usually safer and cheaper than the strongest possible fix.
| What you notice | Likely reason | First move |
|---|---|---|
| A leaking supply or drain pipe | May contribute to damp wall | Inspect carefully and deal with the cause before a cosmetic fix. |
| Rain ingress at an exterior wall | May contribute to damp wall | Inspect carefully and deal with the cause before a cosmetic fix. |
| Condensation from poor ventilation | May contribute to damp wall | Inspect carefully and deal with the cause before a cosmetic fix. |
| A roof, gutter or window leak | May contribute to damp wall | Inspect carefully and deal with the cause before a cosmetic fix. |
| Rising damp near the floor | May contribute to damp wall | Inspect carefully and deal with the cause before a cosmetic fix. |
| Old paint trapping moisture | May contribute to damp wall | Inspect carefully and deal with the cause before a cosmetic fix. |
If there is a safety risk, spreading damage, severe mould, pests near food, or anything you cannot identify safely, pause DIY work and book painting.
What commonly causes this
Damp patches rarely become a problem for one dramatic reason. Look for the ordinary conditions that let the issue keep returning:
- A leaking supply or drain pipe — inspect it before treating the visible symptom.
- Rain ingress at an exterior wall — inspect it before treating the visible symptom.
- Condensation from poor ventilation — inspect it before treating the visible symptom.
- A roof, gutter or window leak — inspect it before treating the visible symptom.
- Rising damp near the floor — inspect it before treating the visible symptom.
- Old paint trapping moisture — inspect it before treating the visible symptom.
Methods that actually help — try them in this order
Start with the lowest-risk, reversible method. Move on only if it does not explain or improve the damp wall.
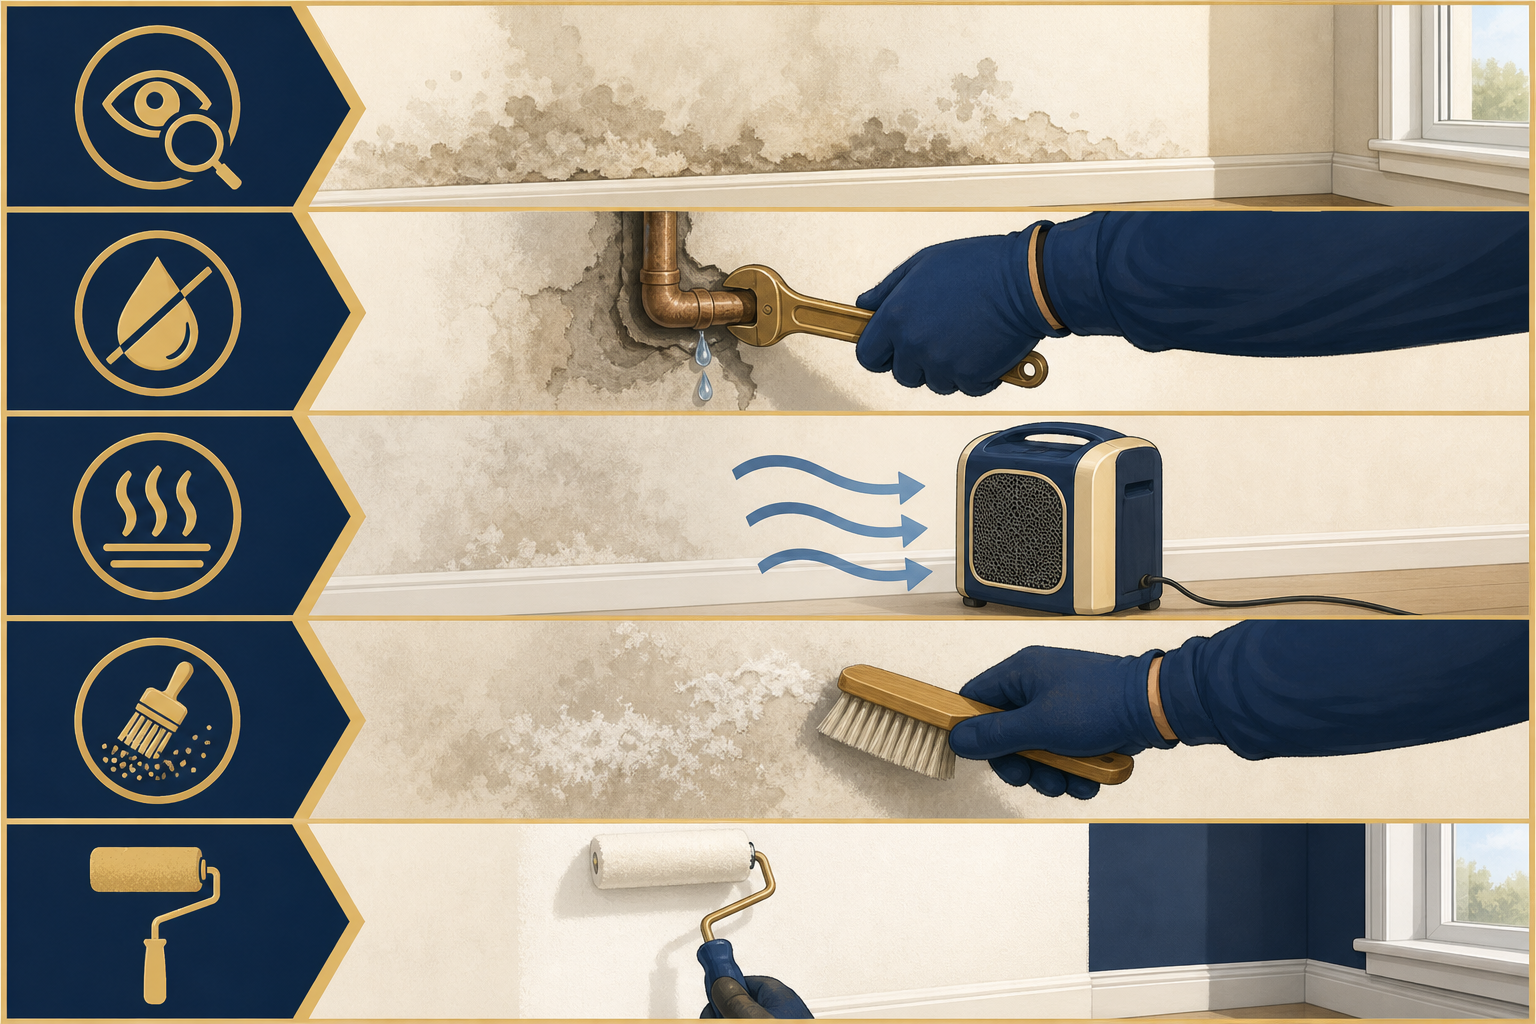
Map the damp pattern
Best for: a new patch or tide mark
- Photograph it, note whether it grows after rain or plumbing use, and check nearby pipes, windows and ceilings.
- Work in good light and take a photo before changing anything.
- Change one variable at a time so you can tell what helped.
- Stop if the issue worsens or exposes a safety concern.
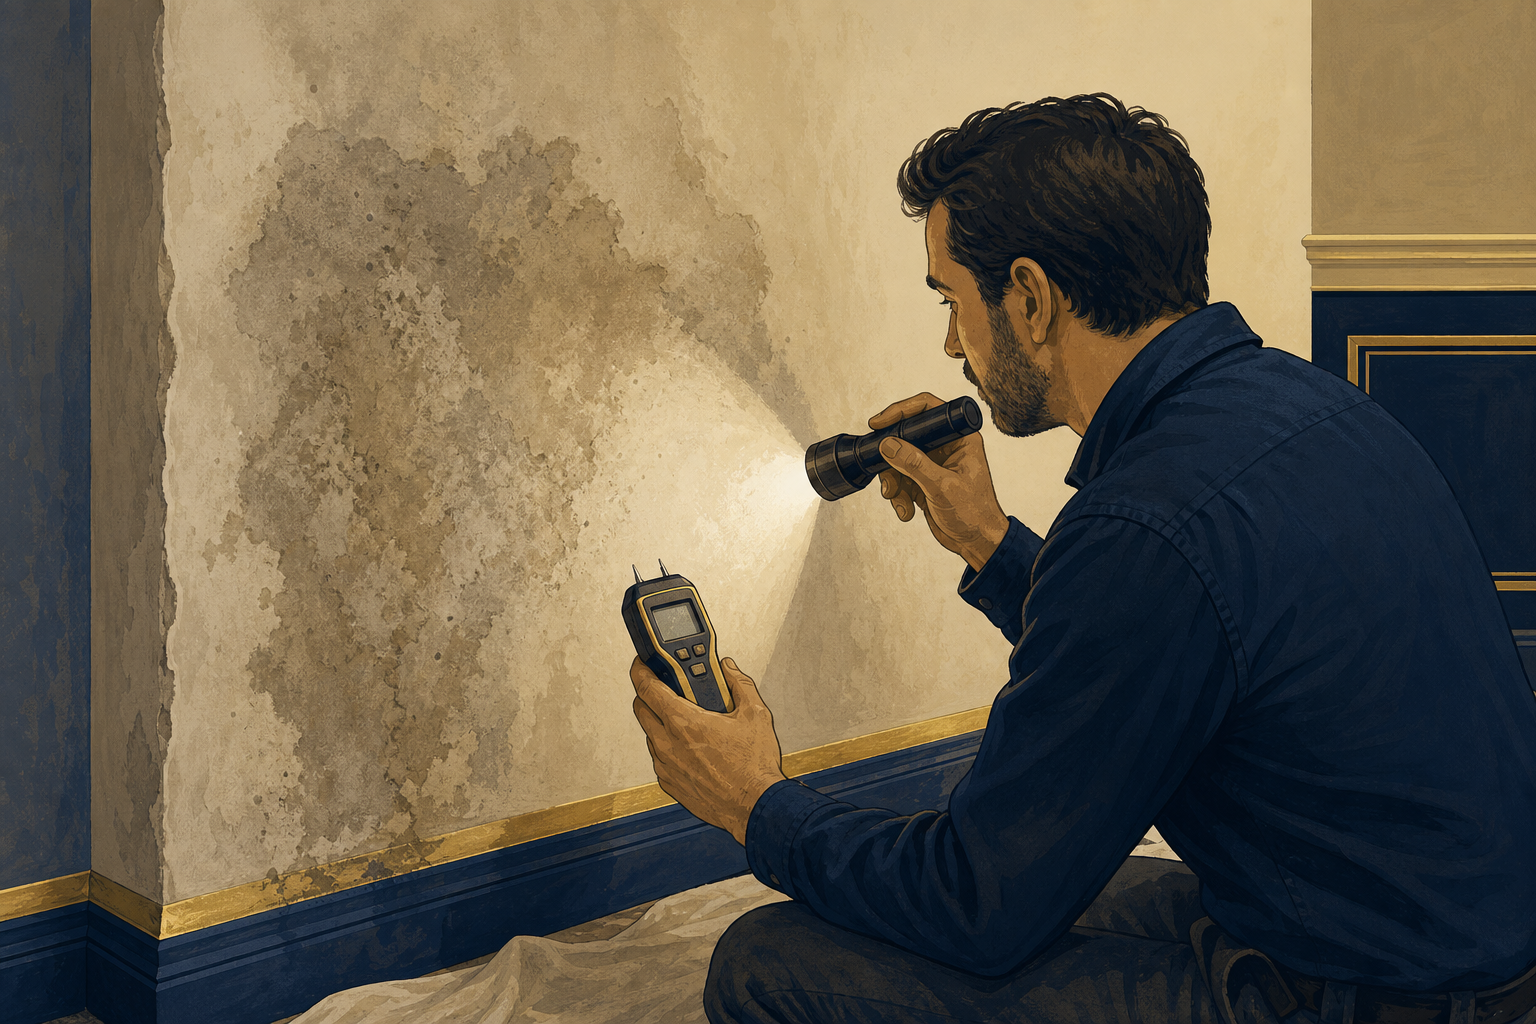
Stop the water source
Best for: a suspected leak
- Arrange a plumbing or exterior repair first; paint cannot make an active leak disappear.
- Work in good light and take a photo before changing anything.
- Change one variable at a time so you can tell what helped.
- Stop if the issue worsens or exposes a safety concern.
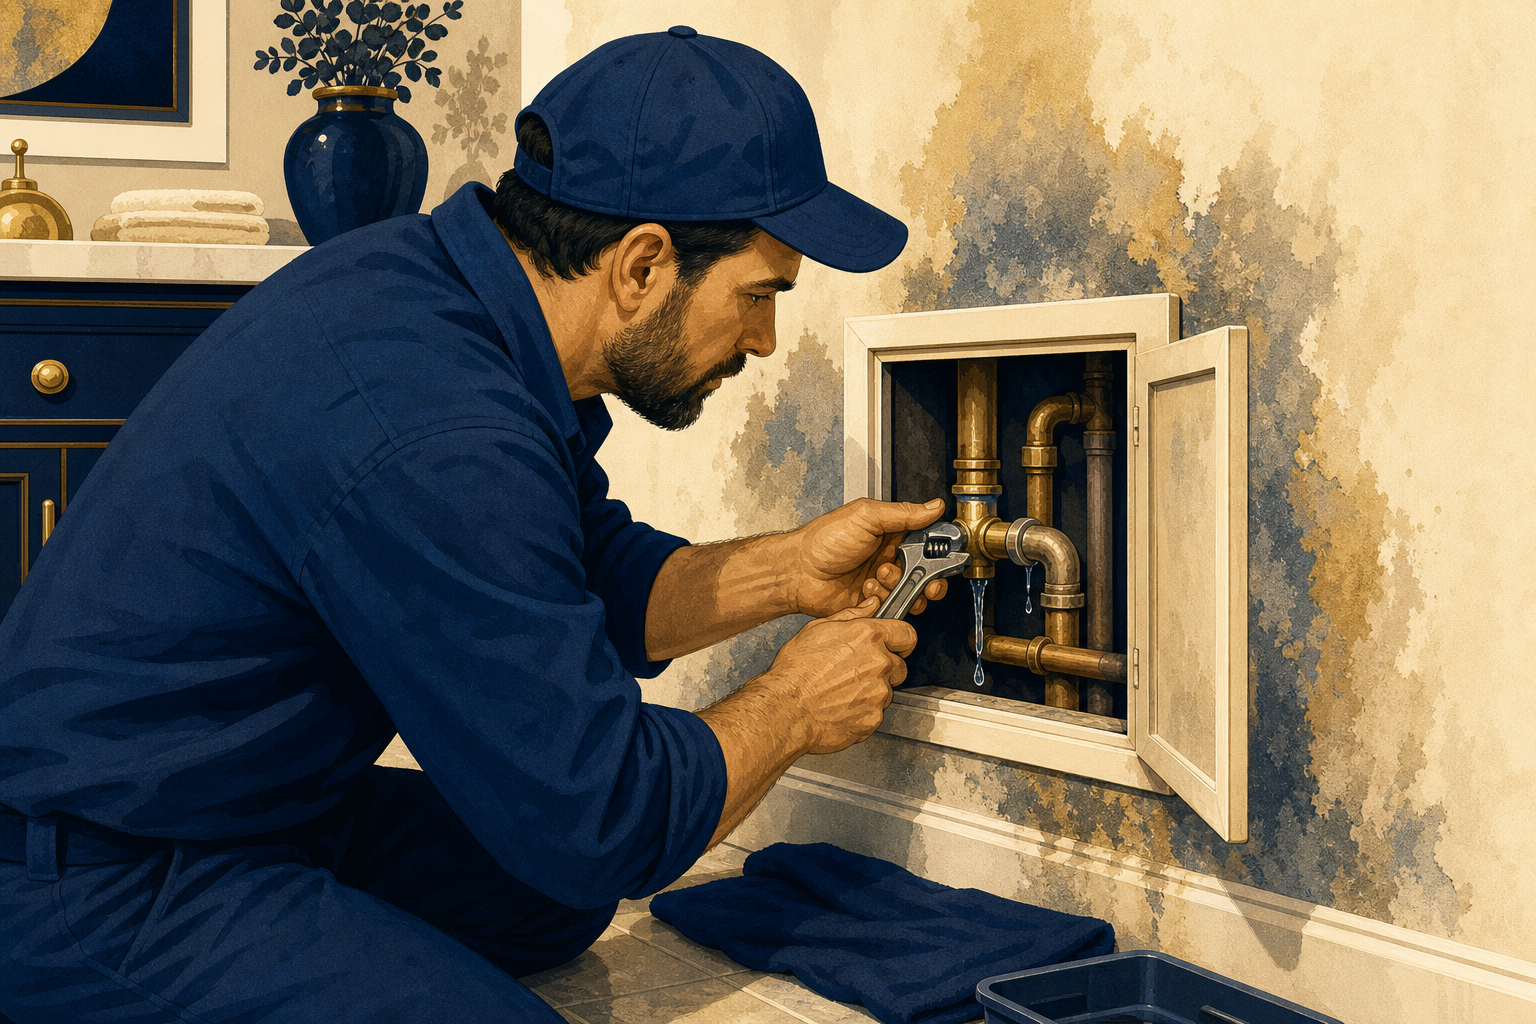
Let the wall dry properly
Best for: the source is fixed
- Ventilate the room and allow time. A wall that feels dry only on the surface is not ready.
- Work in good light and take a photo before changing anything.
- Change one variable at a time so you can tell what helped.
- Stop if the issue worsens or exposes a safety concern.
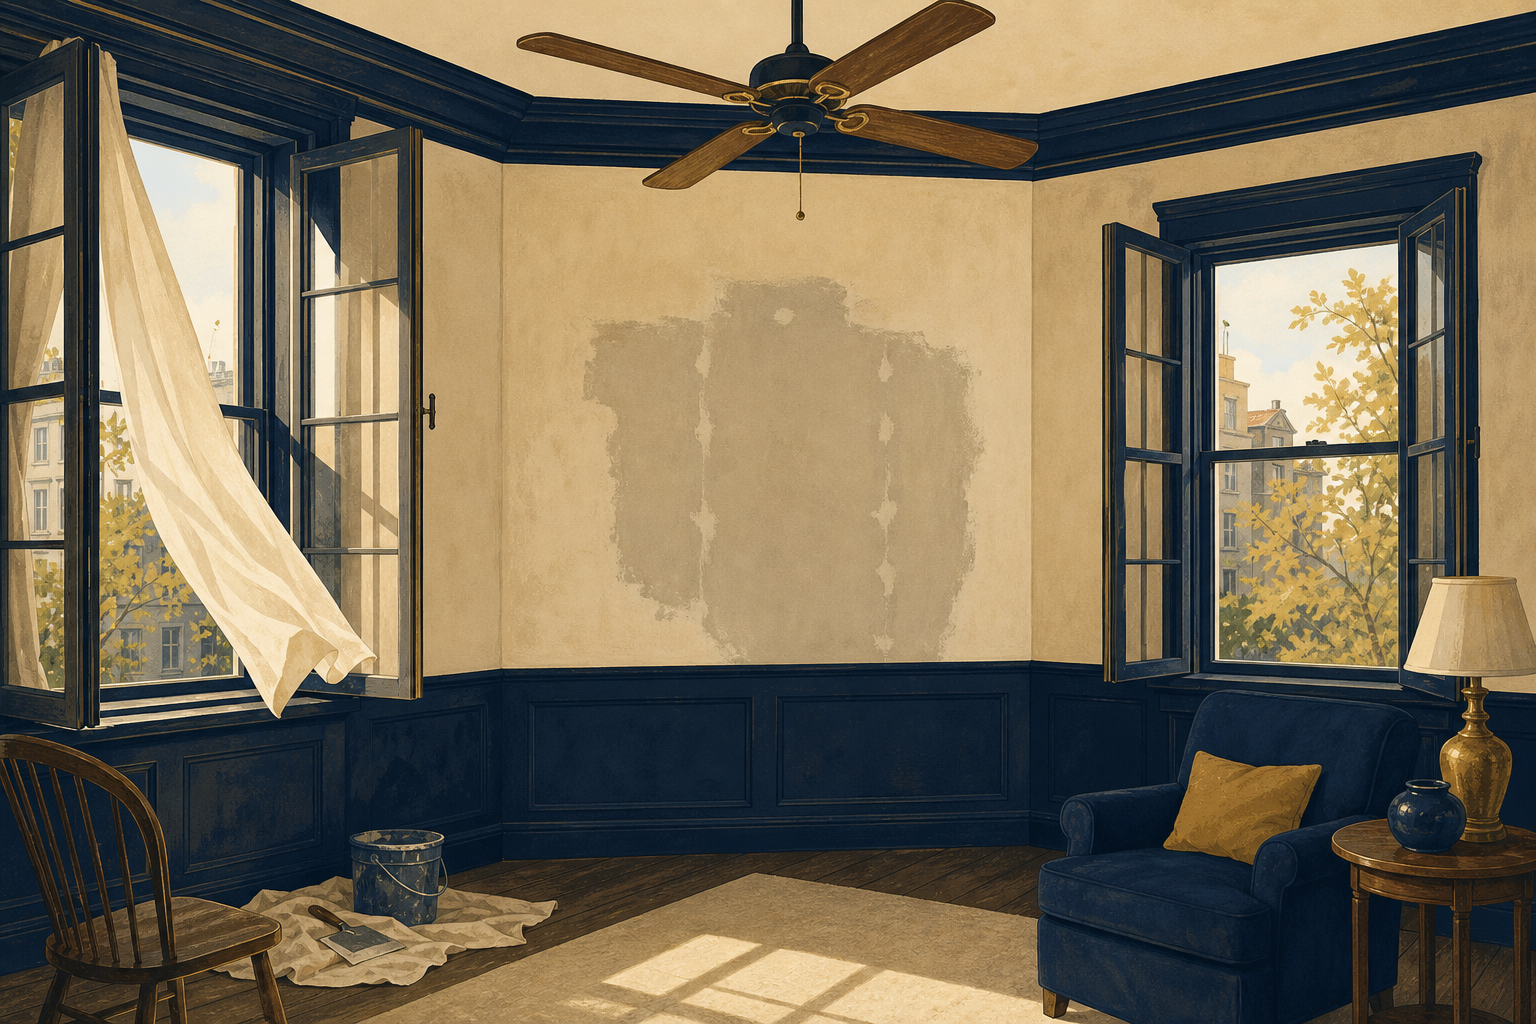
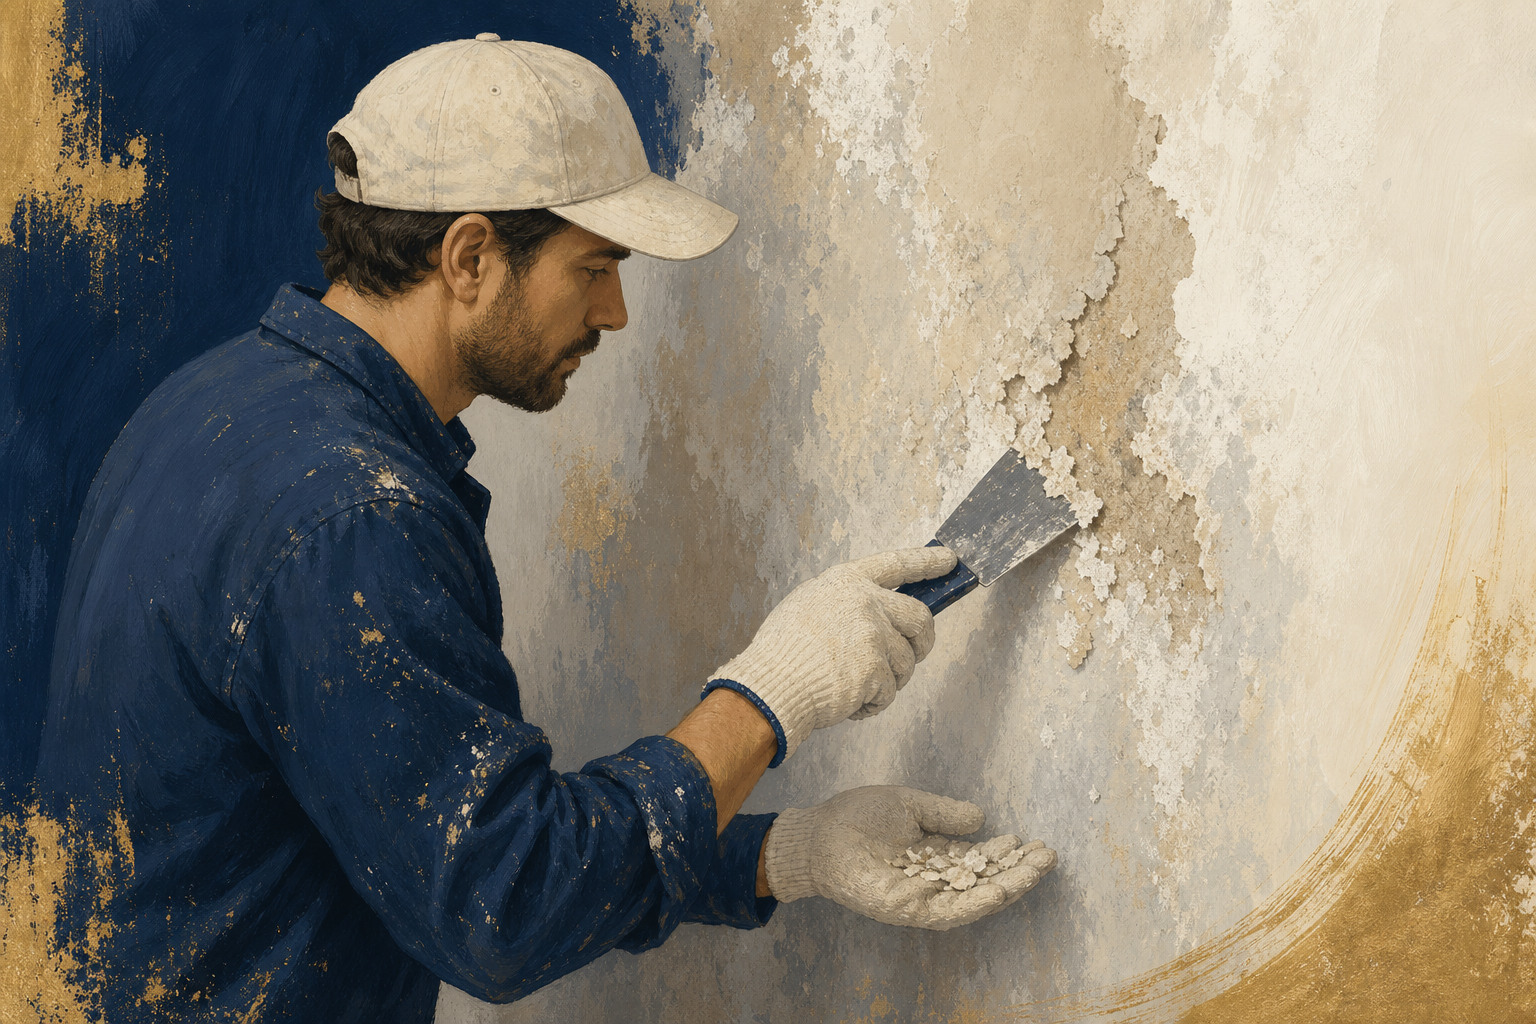
Remove failed material safely
Best for: flaking paint or salts
- Wear suitable protection, scrape loose material gently, clean residue and repair only after the substrate is dry.
- Work in good light and take a photo before changing anything.
- Change one variable at a time so you can tell what helped.
- Stop if the issue worsens or exposes a safety concern.
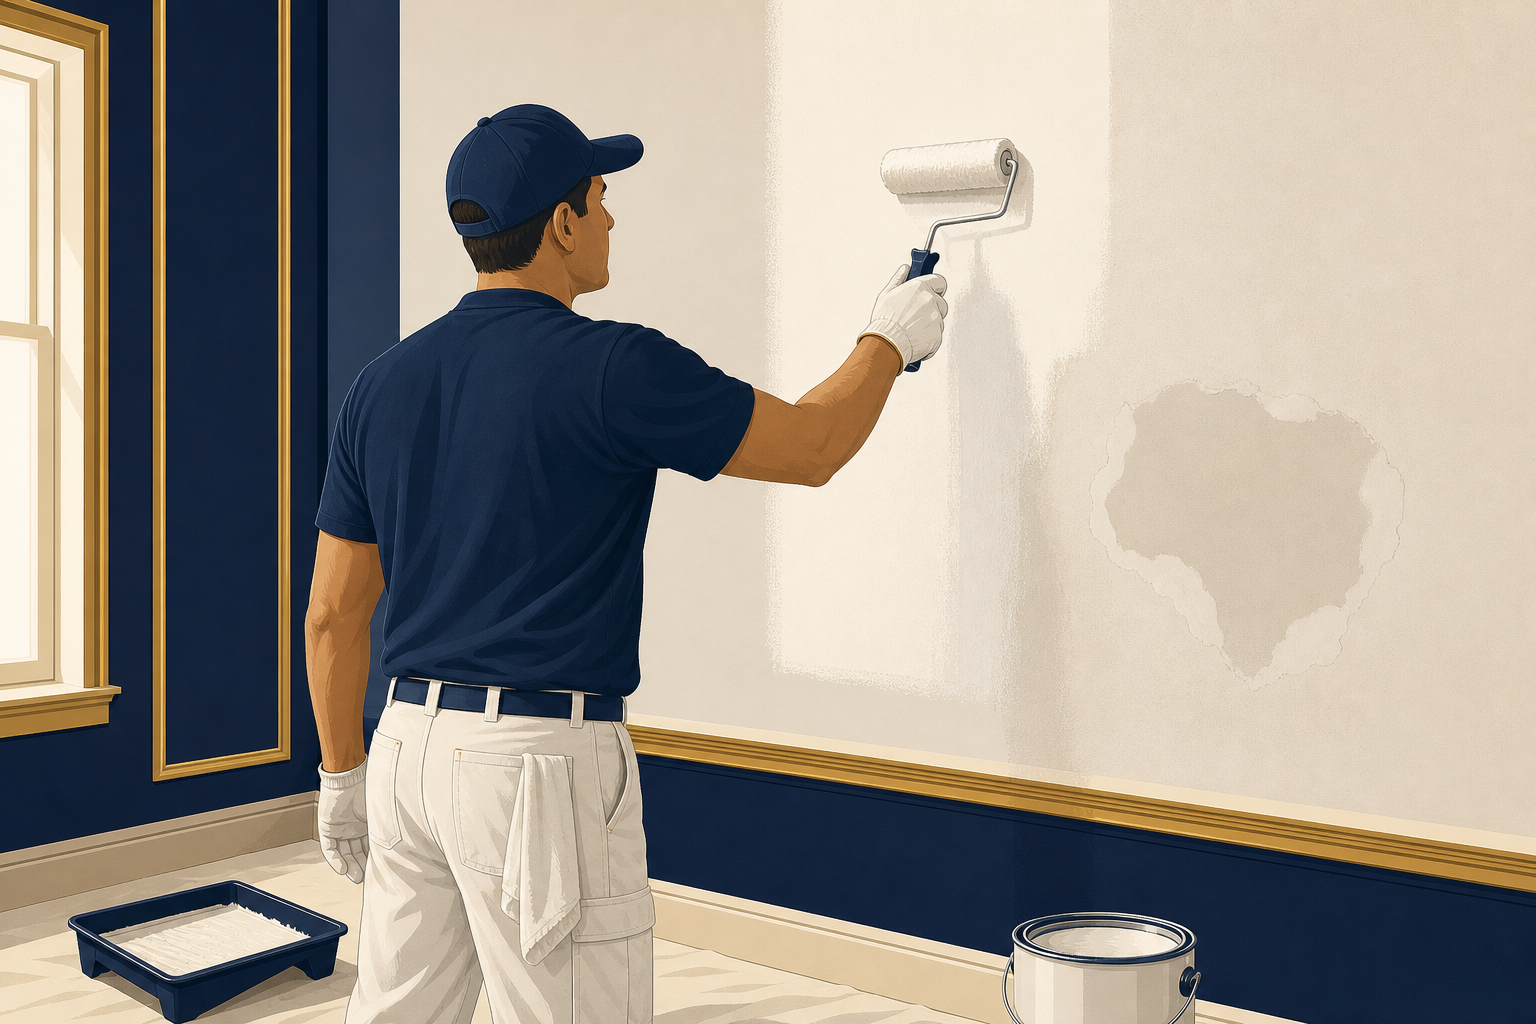
Prime and paint the dry repair
Best for: a confirmed dry wall
- Use a compatible primer and paint system; thin coats beat sealing damp under a thick one.
- Work in good light and take a photo before changing anything.
- Change one variable at a time so you can tell what helped.
- Stop if the issue worsens or exposes a safety concern.
Common scenarios
The mark grows after rain
Inspect exterior joints, gutters, roof edges and window surrounds.
The patch is near plumbing
Stop using the affected fixture if needed and get the leak checked.
Mould keeps returning
Improve ventilation and identify the moisture source before redecorating.
Please don’t do this
These shortcuts can make a small problem harder to diagnose or more expensive to repair.
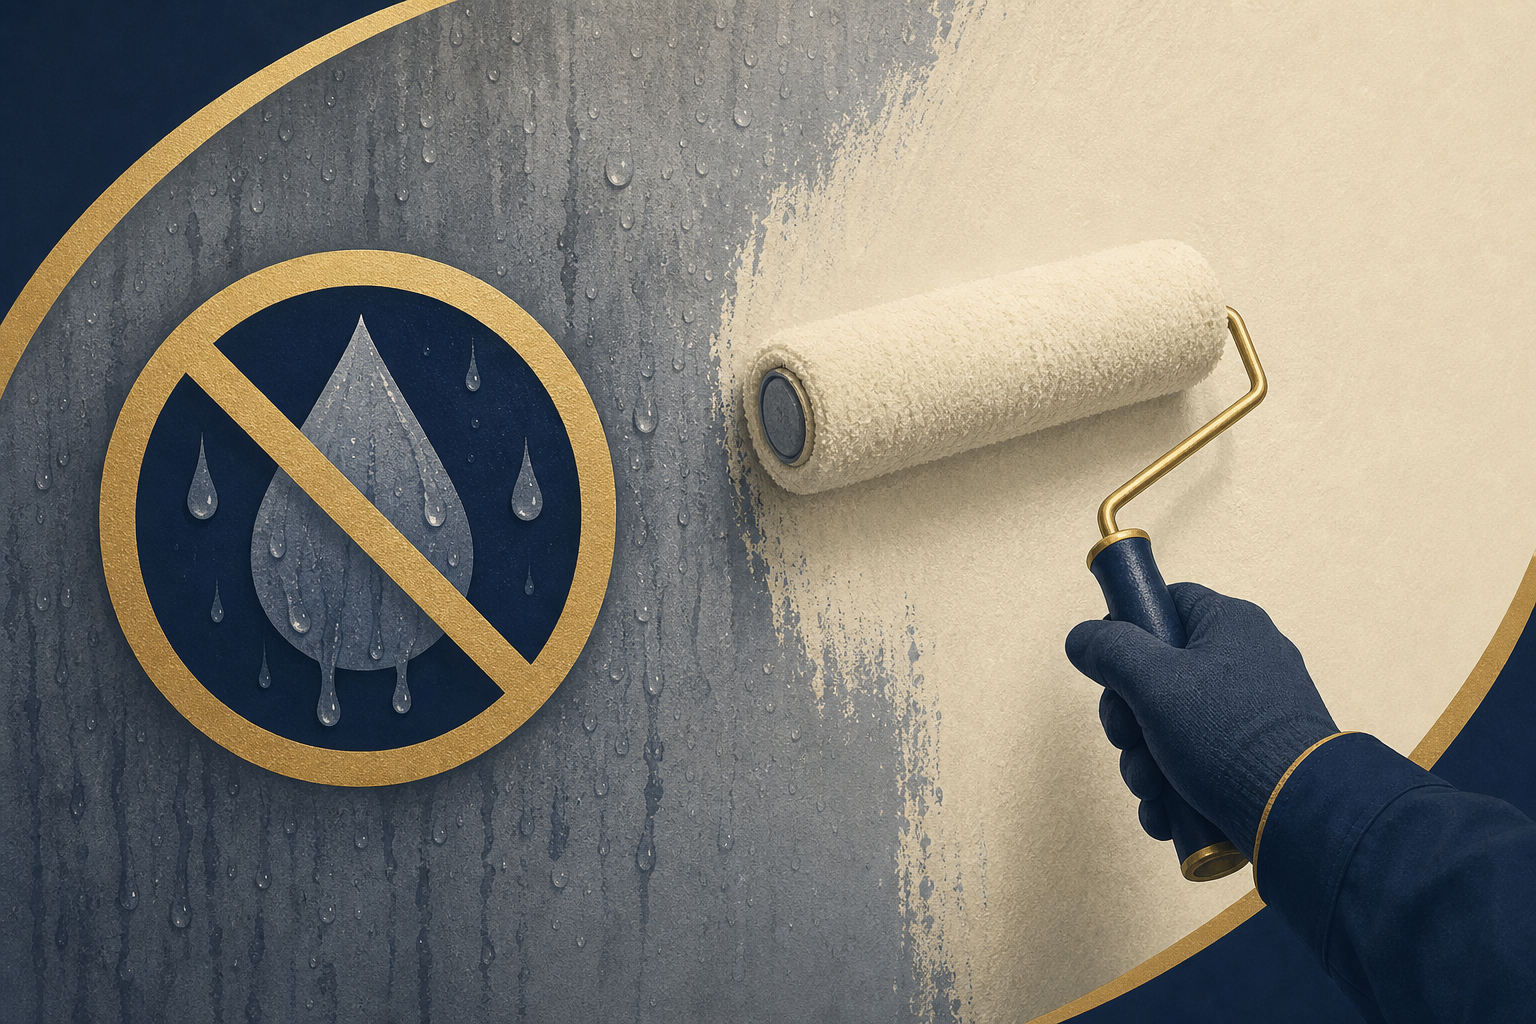
Paint over a wet patch
Best for: avoiding a costly false shortcut
The stain, blistering and mould are likely to return through new paint.
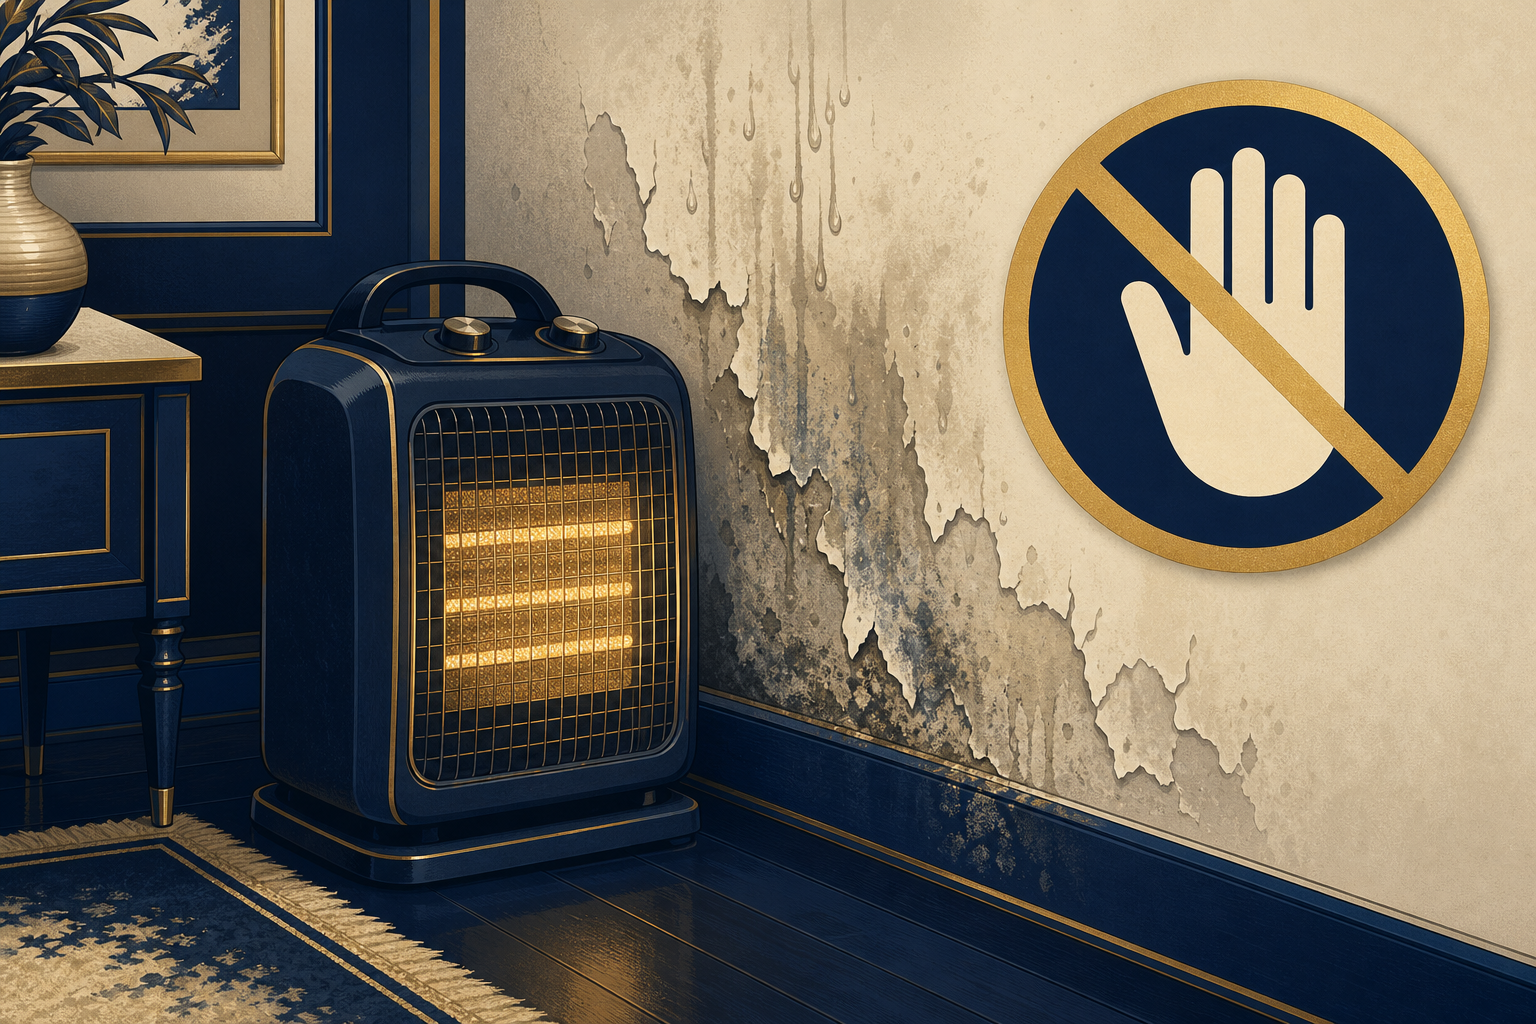
Force-dry with a heater beside the wall
Best for: avoiding a costly false shortcut
Rapid heat can be unsafe and does not fix the water source.
Mask mould with fragrance
Best for: avoiding a costly false shortcut
Mould needs moisture control and suitable cleaning, not perfume.

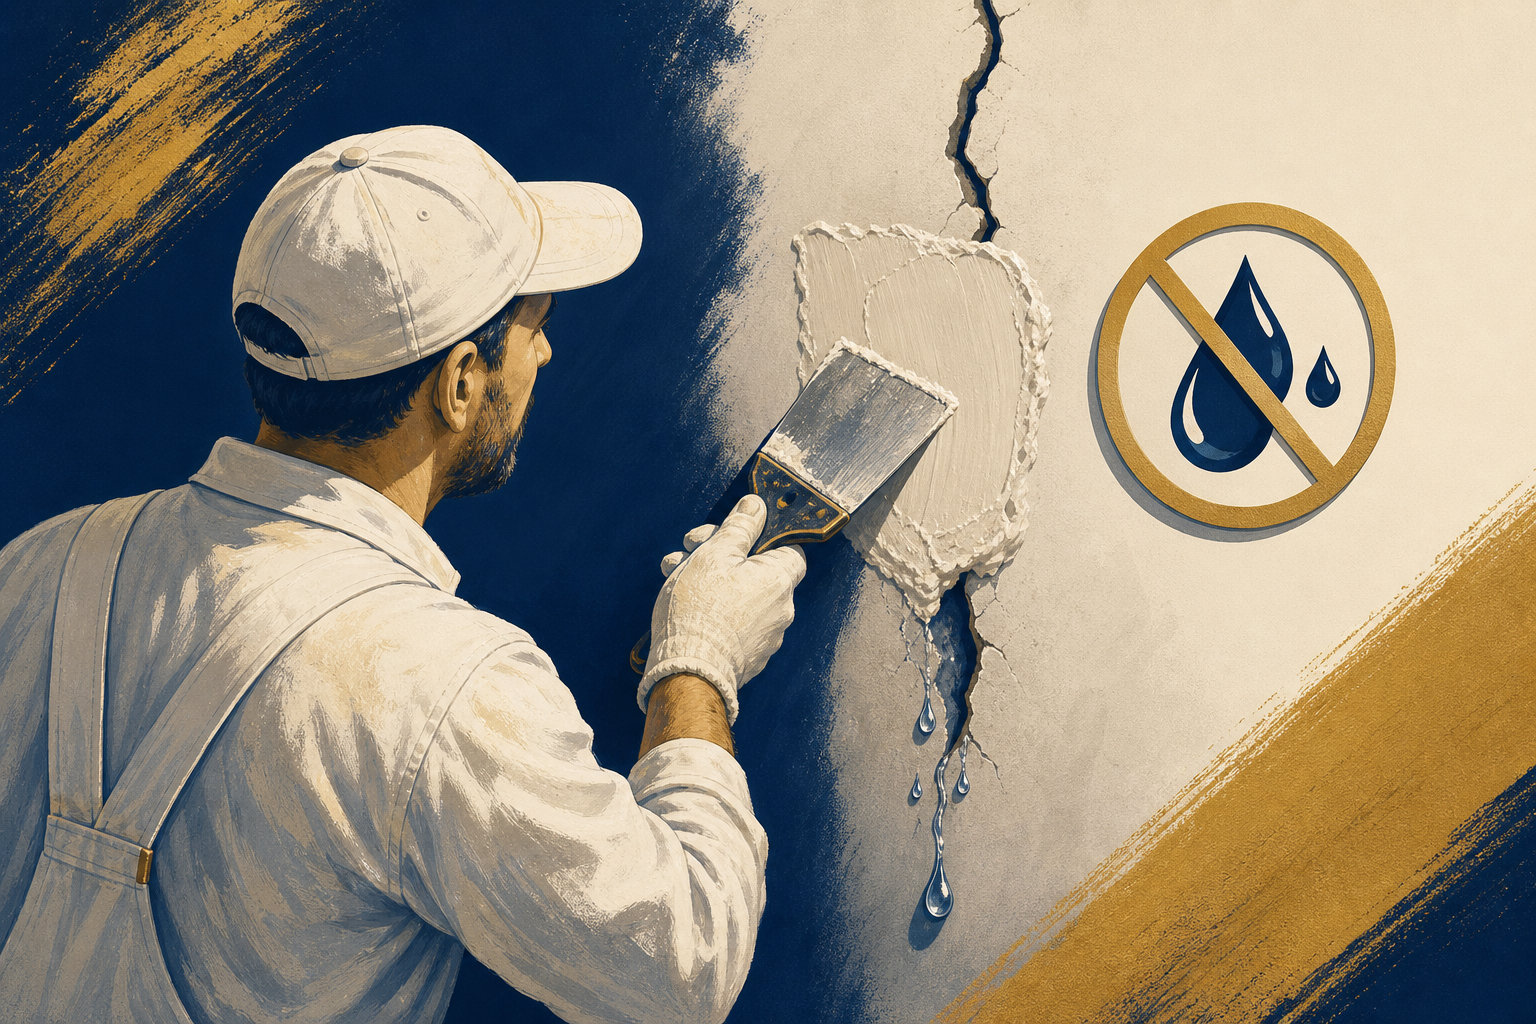
Fill a wet crack
Best for: avoiding a costly false shortcut
Filler will fail if water or movement is still active.
How to keep it from returning

- Ventilate bathrooms and kitchens.
- Clear gutters and check exterior seals seasonally.
- Keep large furniture slightly off cold exterior walls.
- Deal with plumbing drips early.
- Photograph recurring marks to track change.
Keep a simple note of when and where you first see the damp wall. That pattern makes a professional visit faster and more useful.
What the work usually involves
Costs depend on the source: a simple dry-and-repair differs from plumbing access, exterior waterproofing, mould treatment or extensive replastering. Ask for the moisture cause and drying plan before agreeing to paint work.
When to book {d["service"]}
- The issue returns after the safe checks.
- You see spreading damage or a safety concern.
- The cause is hidden behind a wall, appliance, frame or fixed furniture.
- You need a repair that would be costly to reverse.
- You want the source confirmed before spending on a finish.
Before the visit, share clear photos, when the damp wall started, what changed, and the safe checks you already completed. Book verified painting across Kashmir.
FAQs
What is the safest first step for damp wall?
Start by observing the pattern and using the first low-risk method above. Do not jump to a permanent or chemical fix.
Can I fix damp wall myself?
You can do simple cleaning, observation and basic maintenance when safe. Stop for hidden damage, specialised work or any safety concern.
Why does damp wall keep returning?
The visible symptom may have been treated while the source, route or contributing condition remained.
When should I book painting?
Book when it is recurring, widespread, damaging, unsafe, or not improved by the safe checks.
What should I tell the professional?
Explain where it appears, when it started, what triggers it and what you have already tried.
Is help available across Kashmir for damp wall?
Yes. Use Panun Kaergar to book the relevant verified service across Kashmir.
The best repair for damp wall starts with the right cause. Take the careful first step, keep notes, and bring in a professional when the job asks for one.